Understanding Fair Isle Knitting Patterns
Discover the history, techniques, and secrets behind Scotland's most iconic pattern. Learn colour theory, tension control, and how to read traditional charts like a seasoned knitter.

What Makes Fair Isle Special
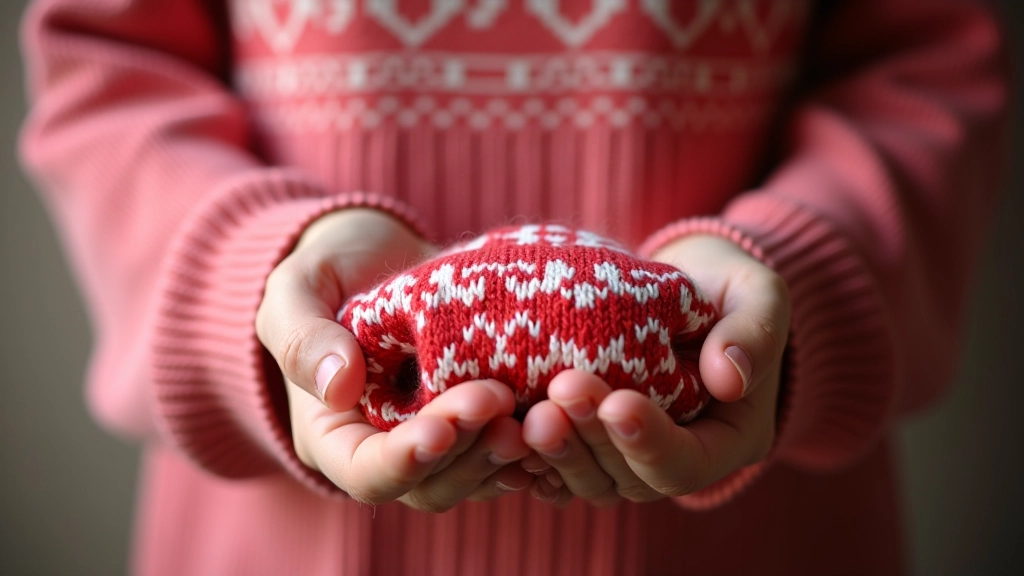
Fair Isle isn't just a pattern—it's a tradition that's been passed down through generations in Scotland's Shetland Islands. What started as a practical way for local knitters to use leftover wool scraps has become one of the world's most recognizable knitting styles.
You'll notice Fair Isle patterns immediately. They're typically two-coloured designs with geometric motifs that repeat across the fabric. The technique requires holding two strands of yarn simultaneously and switching between them as you work. It's not as intimidating as it sounds—once you understand the fundamentals, you're well on your way to creating stunning pieces.
The beauty of Fair Isle lies in its balance. Colours complement each other naturally, patterns have rhythm and flow, and there's genuine skill involved. But here's what matters: thousands of intermediate knitters have mastered this technique, and you can too.
The Two-Colour Technique
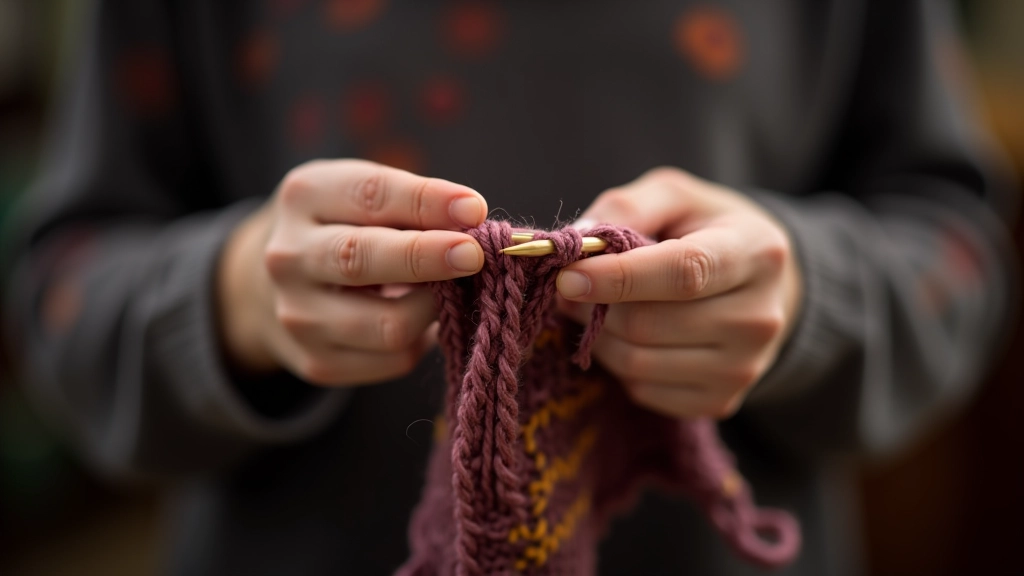
The core of Fair Isle is deceptively simple: you hold two colours of yarn and switch between them as you work. Most knitters either carry the unused colour on the inside of their work (called stranding) or wrap it around the working yarn periodically (called weaving).
Stranding works best when you're only skipping a few stitches. If you've got a long stretch where one colour isn't needed, the unused yarn gets pulled too tight, which distorts your fabric. That's where weaving comes in. It's slightly more complex but prevents those loose strands altogether.
Tension is everything. If your stranded yarn is too tight, your knitting puckers. Too loose, and you get holes. Most people need 50-100 practice rows before their tension feels natural.
The key isn't perfection on row one. It's understanding the mechanics so your hands can develop the muscle memory needed for consistent, even fabric.
Colour Theory in Fair Isle
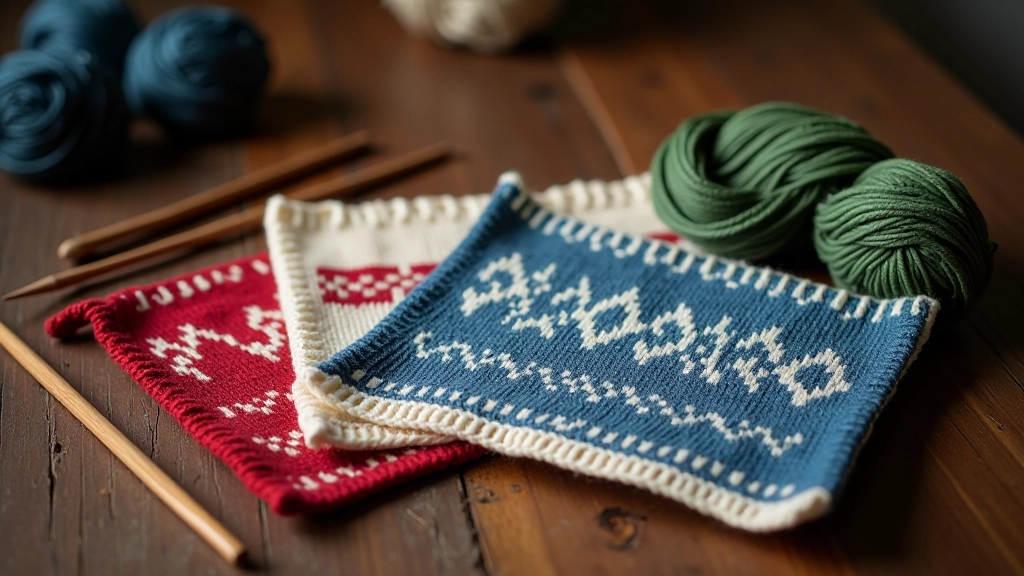
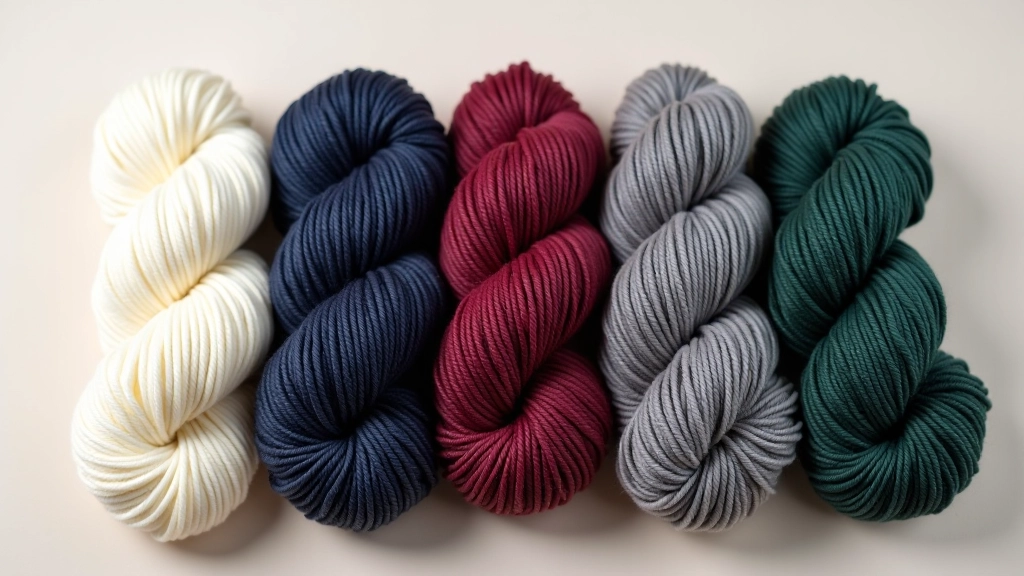
Traditional Fair Isle uses specific colour combinations that've been refined over centuries. Red with cream. Navy with grey. Forest green with ivory. These aren't random choices—they're based on what actually works visually.
The fundamental rule: you need contrast. Your two colours should be different enough that the pattern reads clearly from a distance. If you use navy and black together, the pattern will disappear. Light and dark combinations work brilliantly. Medium and light can work. But medium and dark? That's where things get tricky.
When you're choosing colours for your first Fair Isle project, pick a light and a dark. It's the safest approach and honestly the most striking visually. Once you've finished a few projects and understand how different shades interact, you can experiment with more subtle combinations.
Classic Fair Isle Combinations
- Cream with burgundy or wine red
- Off-white with navy or charcoal
- Pale grey with forest green
- Natural wool with deep indigo
- Cream with rust or burnt orange
Reading Charts Like a Pro
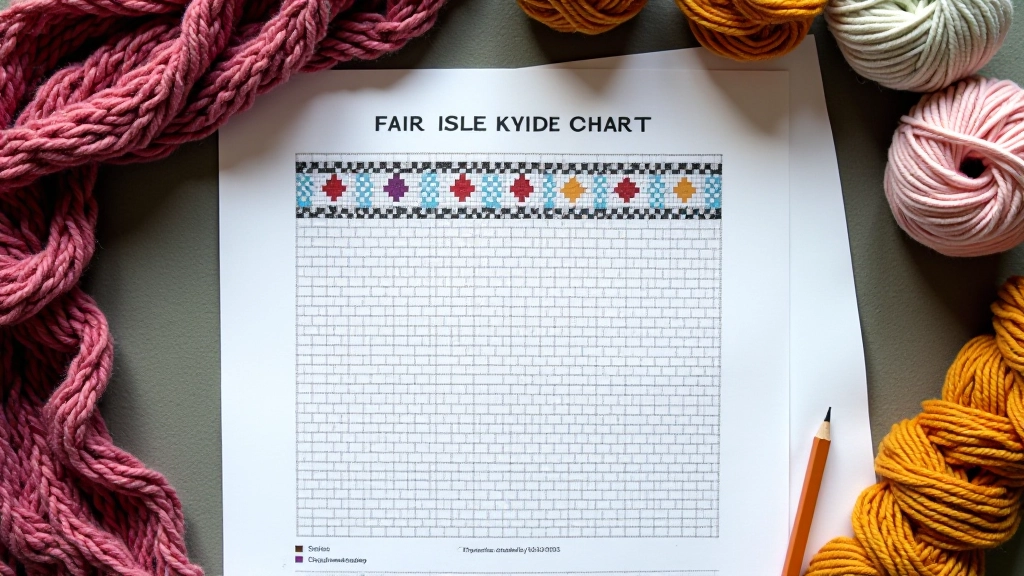
Fair Isle patterns are shown as charts—grids where each square represents one stitch. The colours in the chart correspond to your yarn colours. Sounds straightforward, right? The trick is understanding which direction to read.
Charts are read from the bottom up and right to left (if you're right-handed). This mirrors how your knitting actually grows. When you're working flat knitting, alternating rows are read in opposite directions. It takes maybe three rows before your brain clicks into this pattern.
Use a ruler or highlighter strip to track which row you're on. Seriously. It saves you from frogging back multiple rows because you lost your place. Many experienced knitters still do this—there's no shame in it.
Pro tip: Copy your chart and enlarge it to 150%. Print it. Highlight each row as you complete it. Your eyes will thank you and you'll work faster without constantly recounting stitches.
Getting Started with Your First Fair Isle Project
Don't start with a complicated sweater. Honestly, you'll get frustrated and abandon it halfway through. Instead, begin with something manageable—a small project where you can focus on technique without pressure.
1
Choose Your Project
Start with a hat, mittens, or small cushion cover. Something that takes 10-20 hours, not 100. You need enough rows to develop proper tension, but not so many that you lose motivation.
2
Knit Practice Swatches
Before you start your actual project, knit at least two swatches using your chosen yarn and needles. Practise your tension, test your colour combination, and confirm your needle size is right. This isn't wasted time—it's insurance against spending 30 hours on something that doesn't fit.
3
Master the Tension
Spend the first 30-40 rows just getting comfortable with holding two colours. Your speed doesn't matter. Your stitches will be uneven initially. That's normal. By row 50, you'll notice a genuine difference in consistency.
4
Trust the Process
When you're halfway through and it still doesn't look perfect, don't panic. Fair Isle looks rough on the needles and transforms once it's off them. Blocking helps tremendously. A slightly wonky in-progress piece becomes genuinely beautiful after a proper wash and dry.
Fair Isle Is Within Your Reach
Fair Isle knitting looks complex from the outside, but it's really just two fundamental skills: holding two colours of yarn and switching between them rhythmically. That's it. Everything else—tension, colour theory, chart reading—builds naturally once you understand those basics.
You don't need special needles or fancy yarn. You don't need to have been knitting for years. What you need is patience with yourself and willingness to practise. Most intermediate knitters who try Fair Isle produce beautiful work within their first project. Not perfect work necessarily, but genuinely beautiful, wearable pieces.
The patterns you'll create have been refined over centuries. The colours you'll choose have been tested in countless combinations. You're not inventing anything—you're tapping into a rich tradition. That's the real appeal of Fair Isle knitting.
Information Disclaimer
The techniques and information provided in this article are educational and based on established knitting practices. Results and timelines vary depending on your experience level, practice frequency, and individual learning pace. While these methods are widely used and proven effective, knitting is a skill that improves with practice. If you're new to Fair Isle knitting, consider learning from experienced knitters, instructors, or local knitting groups to receive hands-on guidance and personalized feedback.
Explore More